Draught Proofing Your Home
With draught proofing, you’ll find a cheap and easy way to keep the heat inside your home.

Draught proofing is a cheap and easy way to keep the heat inside your home. It also helps keep cold air out, making your home more comfortable overall.
If you are handy at DIY, there are a range of draught proofing products that can help you draught proof for next to nothing. Professional draught proofing is available for the more difficult jobs.
This article will help you pinpoint which areas of your home could benefit from draught proofing, from windows and doors to floors and chimneys. We’ll also look at which draught proofing products you can use for each job.
Ventilation vs draughts
A draught is a gap in the construction of your home which exposes it to the air outside. It isn’t meant to be there, and its impact is purely negative – warm air is going out, cold air is coming in.
Ventilation also allows air to move in and out of your home, but unlike a draught it’s meant to be there. The airflow keeps the inside of your home healthy.
When draughtproofing, you’re looking to block the draughts but keep any ventilation clear.
Unless you’re sure they’re no longer in use, make sure you don’t seal up:
- Vents
- Grilles
- Fans
- Flues
When in doubt, it’s best to stick to the suggestions below, or contact a draught proofing specialist.
Draught proof your windows

If you have single glazed windows or your double glazing was put in before 2003, then it’s likely you’ll benefit from draught proofing your windows. The best draught proofing products to use will depend on the type of windows you have.
If some windows in your home which don’t open, you can simply run silicone sealant round the edges to fill in any gaps. You can get silicone sealant from all good DIY stores.
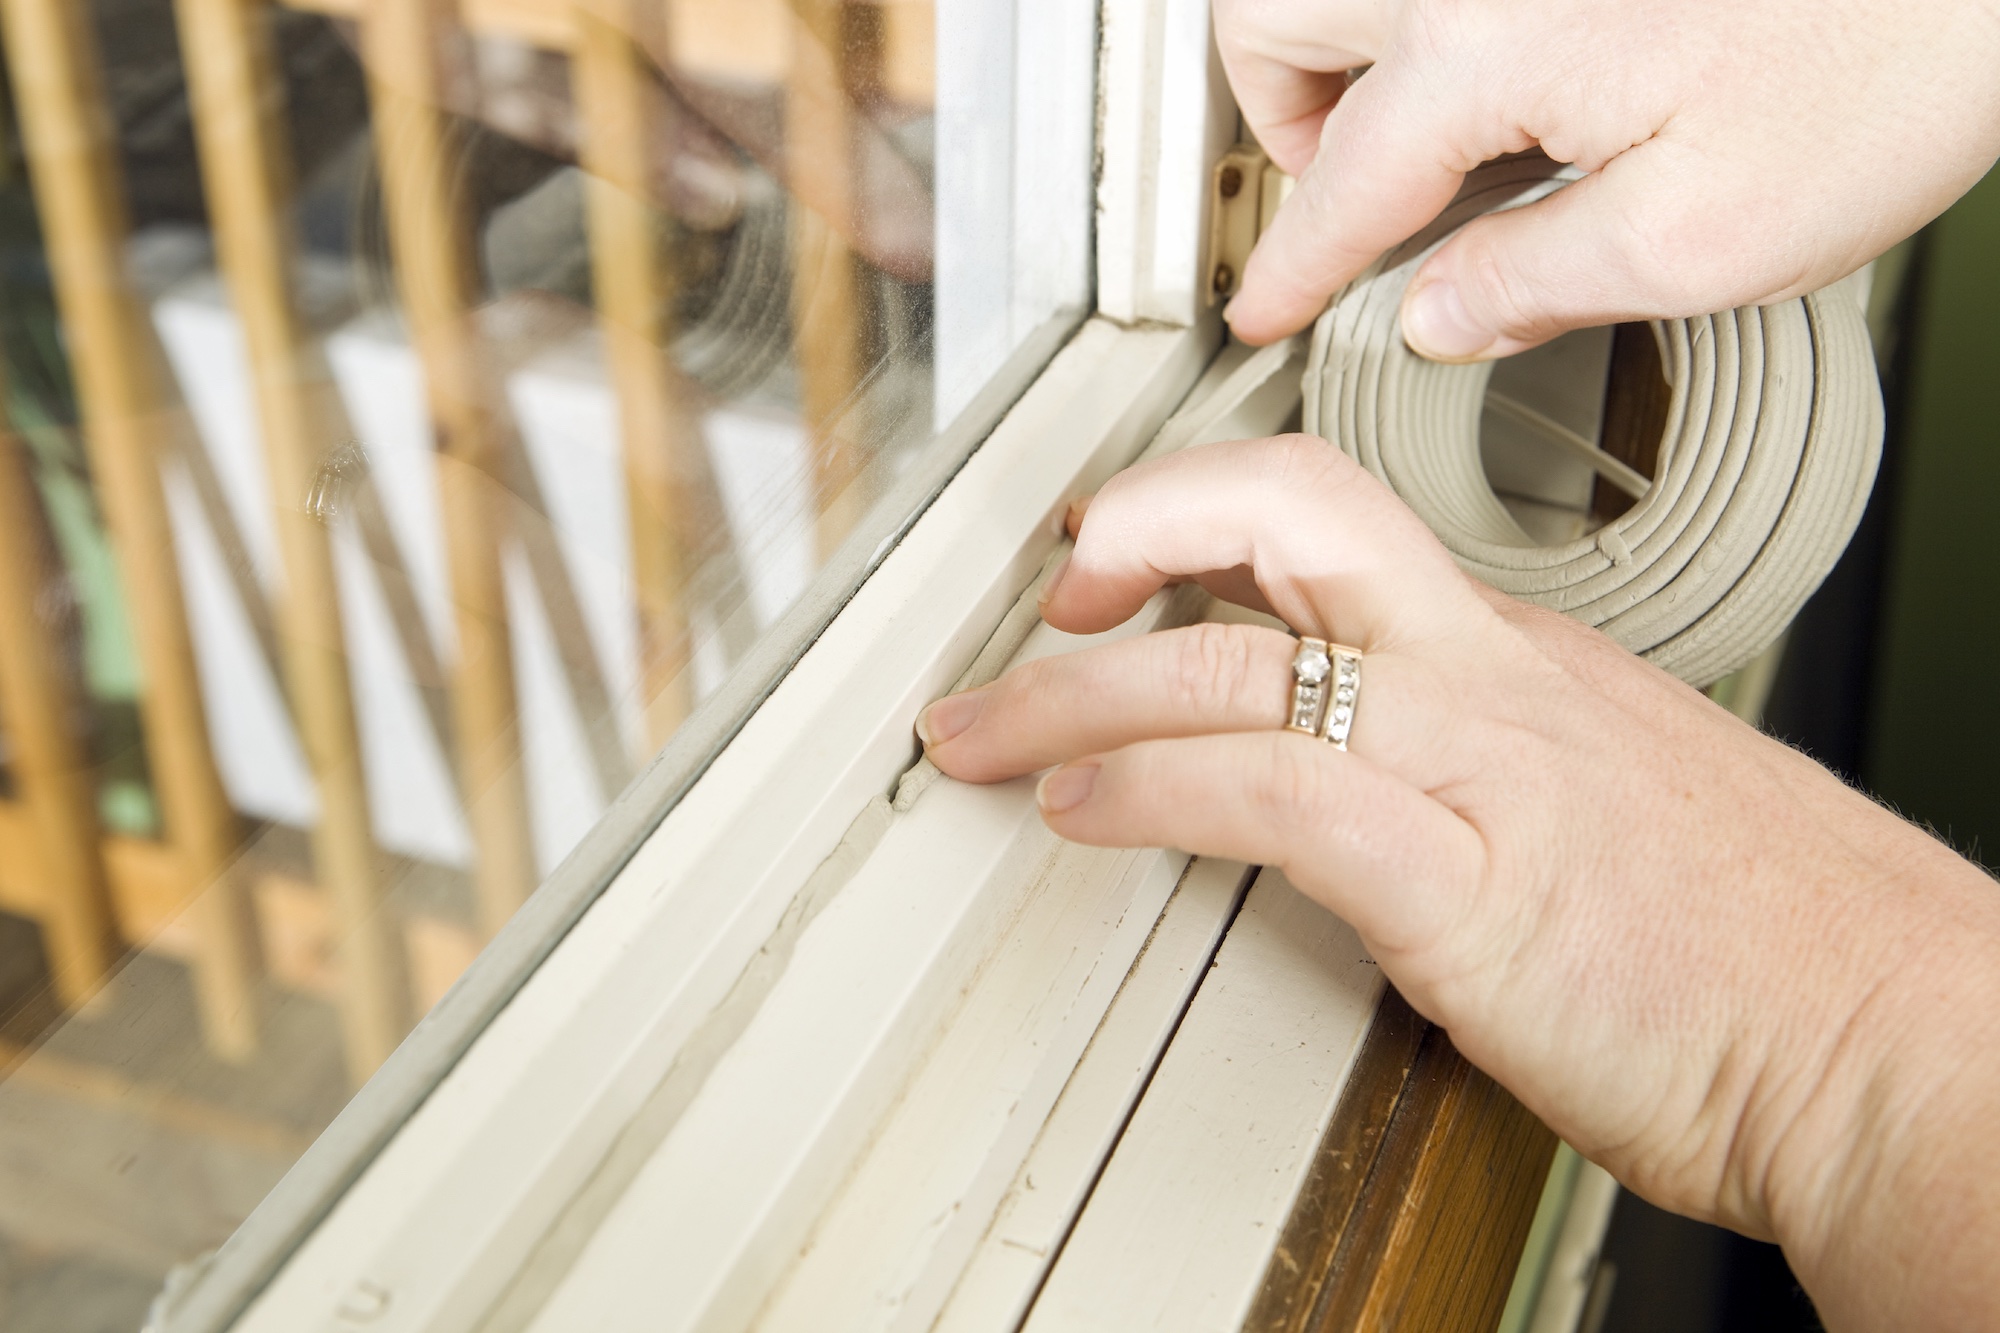
If your windows open on a hinge, you can use draught proofing strips to seal any gaps between the window and the frame. There are two types of draught proofing strips available in most DIY stores:
- Self-adhesive foam strips
Self-adhesive foam strips are cheap and easy to install. They look and work like thick tape. The foam strips come in rolls which you cut to the right size and stick round the edges of the window. The downside to self-adhesive foam strips is that they may start to peel off after a while.
- Brush strips
Brush strips have a metal or plastic casing with brush insert. The casing is cut to size with a hacksaw. The brush can be cut to size using pliers. The correctly sized brush strips are then screwed into place. Alternatively, you can buy self-adhesive brush strips, which don’t require screws.
Sash windows are made up of one or more panels (called sashes) that slide past each other.
For sash window draught proofing you’ll need to use brush strips. If you use brush strips, the windows can still easily slide open and closed.
Curtains
Alongside draught-proofing, using heavy curtains can also help keep the heat in. You can pull the curtains earlier in the evening during the winter, as with the shorter days you won’t be missing out on any daylight.
Draught proof your doors

Draught proofing your doors is another quick and inexpensive way of keeping your home warmer and more comfortable. There are several different areas to look at when you draught proof your front door, from the letterbox to the doorframe. We’ll also look at how to best draught proof your internal doors.
Draught proof your external doors
Any external doors are an excellent target for draught proofing. Check to see if you can do any of the following when you draught proof your front door:
You can draught proof your letterbox by fitting flaps or a letterbox brush. The letterbox should have two flaps – one on the outside of your front door, the other on the inside.
Whichever you choose, it only takes a simple bit of DIY to fix them into place. You’ll need to measure the letterbox to make sure you get the right size flaps or brush. The flaps or brush are then screwed in place.
You don’t want to block up your keyhole, but you can buy a keyhole cover. This is usually a coin-sized metal disc that hangs over the keyhole. It can be easily moved to one side when locking and unlocking the door.
It’s also possible to install a keyhole brush, which is very similar to a letterbox brush. First, the door handle is removed. Next, the keyhole brush is laid over the keyhole and screwed into place. Finally, the door handle is reattached.
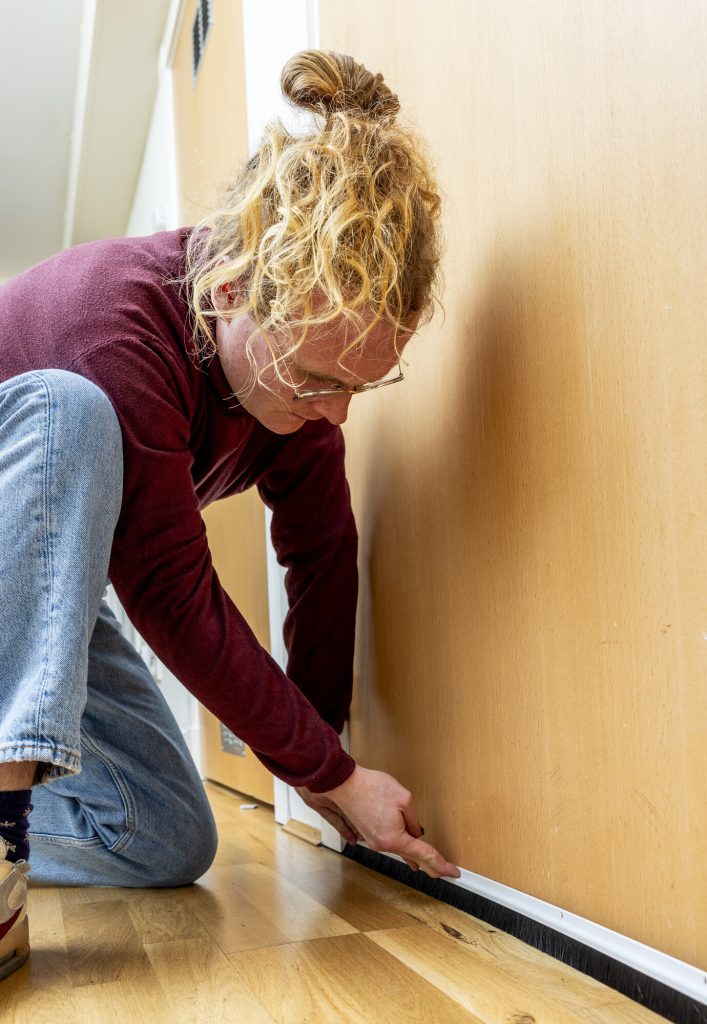
Try fitting a brush to the bottom of the door. This means you’ll stop the draught but still be able to easily open and close the door.
Like fitting a brush strip to your windows, you simply need to measure the door, then cut the brush to the correct length. If you buy a self-adhesive brush, this can be stuck in place by removing the backing. If the brush is non-adhesive it will need to be fitted to the door using screws.
You could also put a draught-excluder across the bottom of the door. These are sometimes called draught snakes, because of their shape. Draught excluders can be bought or you can make your own.
You can seal gaps between the sides and top of your door with the same type of draught proofing strips you used for your windows. Simply cut them to the right size and stick them around the edges of the door.
Some manufacturers make draught proof cat flaps. You might consider one of these when buying a new cat flap or replacing an old one.
There’s no agreed-upon way of draught proofing a cat flap. The best option is to make a simple cover for it. This can be put in place when the flap won’t be in use, such as when your cat is in for the night.
It may be possible to seal any gaps between the frame of the flap and the door. However, you should check that anything you use to fill the gaps isn’t toxic to your cat.
Draught proof your internal doors
We can save energy by turning the radiators down in any rooms we’re not using. To keep the warmth where we want it, we need to close the door between a heated and an unheated room. We can also draught proof these doors for extra savings.
Use a draught excluder to cover this gap. You can make your own by simply rolling up a towel.
Use draught proofing strips to cover any gaps between the door and the frame.
Draught proofing floors
Suspended timber floors are particularly prone to draughts. There are various draught proofing products available to fill in any gaps you might find.
Gaps between your floorboards allow cold air to get in from below. There are several different ways to block these gaps without making a mess of your floor:
- Rubber tubing
This is similar to the strips for draught-proofing windows. The tubing is pushed between the gaps in the floorboards. It is usually a dark colour, meaning it blends in with the shadows between the boards.
- Plastic strips
These work in a similar way to the rubber tubing but fit more tightly. They are pressed down into the gap and then spring apart to fill it.
Your carpet will already be helping stop some of the draughts. For further savings and comfort, you can get rid of the gaps using:
- Fillers – These can be squirted into the gaps. Use a filler that allows for some flexibility, such as a silicone-based type
- Decorator’s caulk
- Mastic
Gaps between the flooring and the skirting boards are another prime location for draughts. These can be filled using any of the methods described above. Another option would be to put in wooden beading. This is a piece of wood, cut to the correct length, which joins the flooring to the skirting board.
Draught proofing chimneys
Many homes have fireplaces which are no longer in use. If this is the case in your home, you may find your chimney is sucking the warm air out of your rooms.
A balloon made from tough plastic is pushed up into the chimney. You can install these yourself. There is also a similar product called a Chimney Sheep that serves the same purpose.
This is simply a cap that covers the chimney pot. It should be installed by a professional.
Useful pages
Is this page useful?